INDUSTRIAL CT (X-RAY) SCANNING
3D SCANNING SERVICES
INDUSTRIAL CT (X-RAY) SCANNING
Capture Internal Dimensional Data Non-Destructively
Industrial Computed Tomography (CT) scanning also referred to as industrial x-ray and industrial imaging, captures high-resolution images for precise measuring needs and/or for comprehensive inspections of internal structures. This includes all hidden features like undercuts which are not accessible using other non-destructive measurement methods. Industrial CT scanning services can help you improve product quality – during development and production – by identifying defects and allowing you to quickly rectify issues.
Benefits of Industrial CT (X-Ray) Scanning
Contact Us: Schedule a CT Scanning Service Today

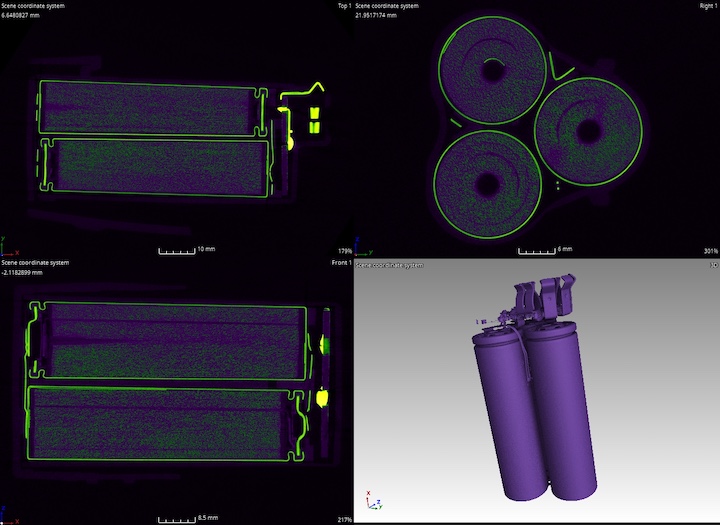
Example CT Scan Data of a Power Tool Battery
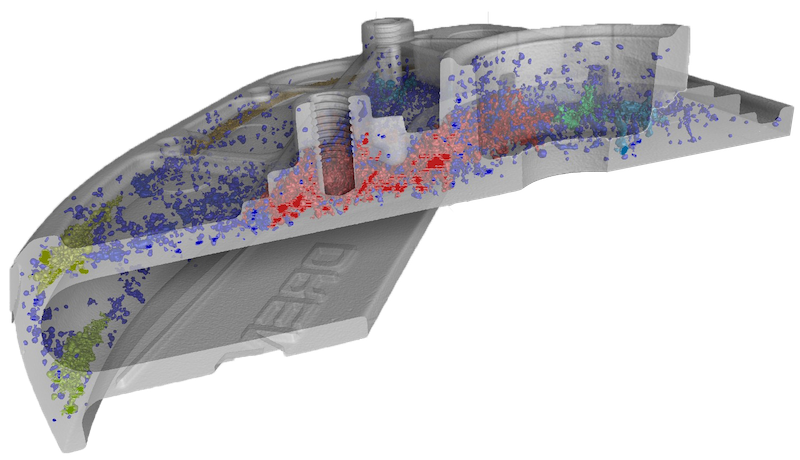
Non-Destructive X-Ray Inspection of Plastic & Light Metal Parts
Industrial CT scanning services can enhance product quality throughout both development and production by detecting defects and enabling rapid resolution of issues. Identifying potential failure points before manufacturing begins, minimizes the risks associated with product performance, especially in pivotal industries like aerospace, medical devices, and automotive, where safety is first priority.
Application Example: CT Scanning a Carburetor
Our Certifications
Exact Metrology is committed to providing products and services that comply with all aspects of our customers and regulatory requirements.


3D Metrology & Inspection From One CT Scan
With software that is now up to 14x faster for CT volume reconstruction; our industrial CT scanning system is set up for:


